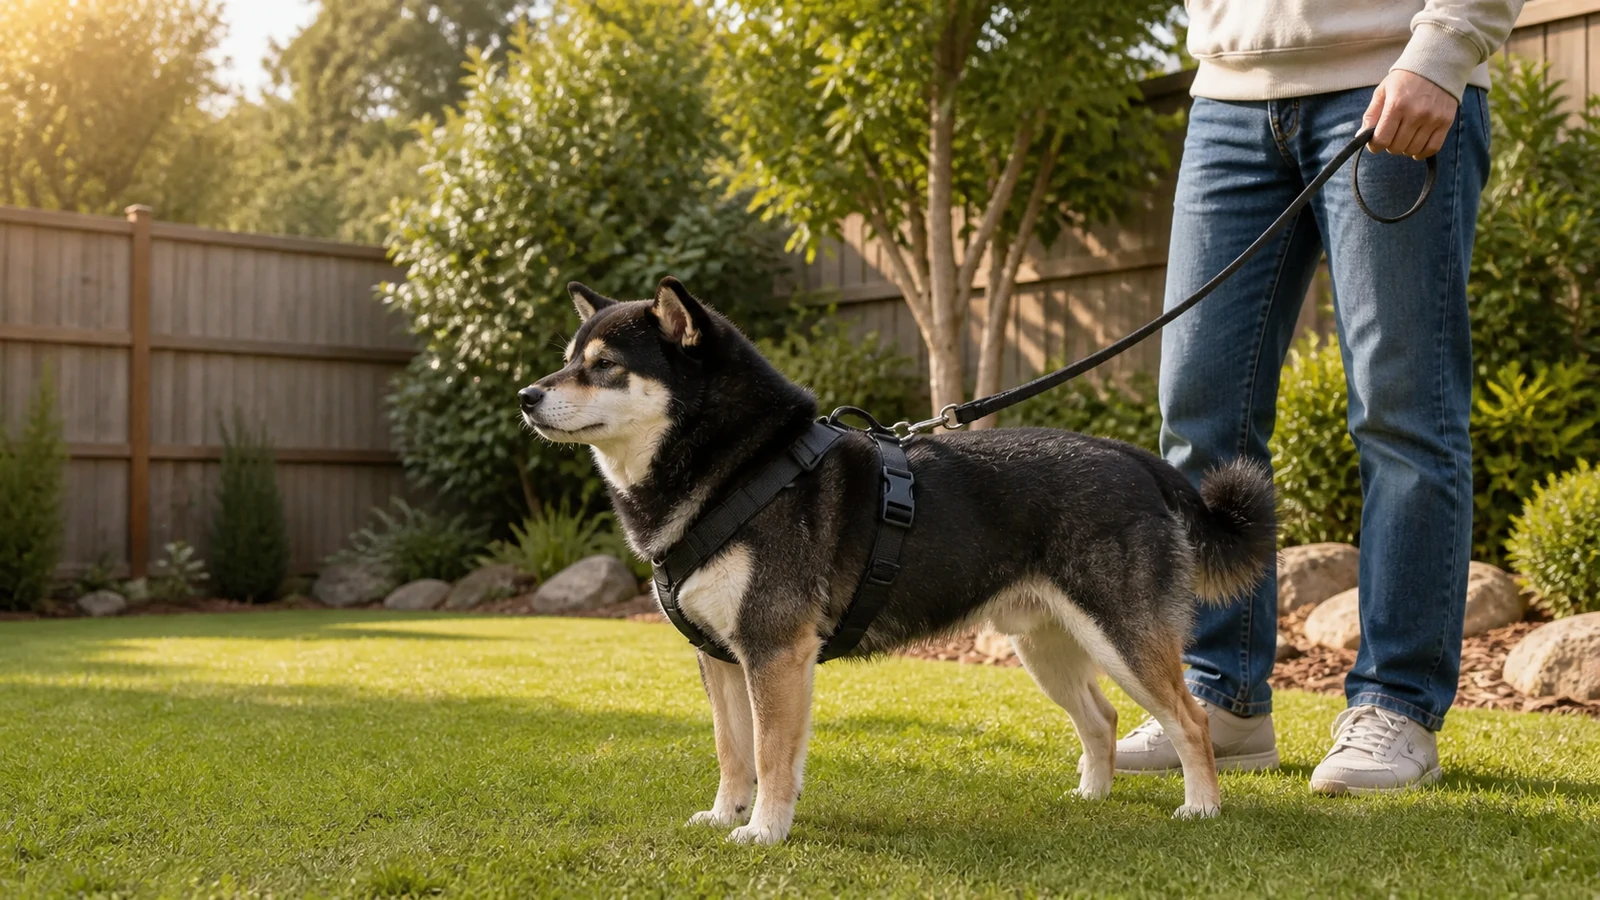
An escape-proof dog harness is not defined by a product name. It is a harness whose neck opening, chest section, and rear strap match the individual dog's shape closely enough that backing up does not let the elbows and shoulders fold through the openings. A third strap behind the rib cage can add a meaningful barrier, but only when it sits on the rib cage, stays clear of the soft abdomen, and remains comfortable through a full walk.
Quick read
Quick answer
- Look first for three body straps, multiple adjustment points, and a rear strap that cannot slide forward over the deepest part of the chest.
- Measure neck, deepest chest girth, rear-rib girth, back length, and weight; do not choose from weight alone.
- Perform a controlled forward, turn, sit, lie-down, and gentle reverse test in a closed area.
- Use a backup connector to a correctly fitted collar while transitioning, but never create a tight tangle between two restraint points.
- A secure harness reduces one escape route; it does not replace training, distance from triggers, or a safe handling plan.
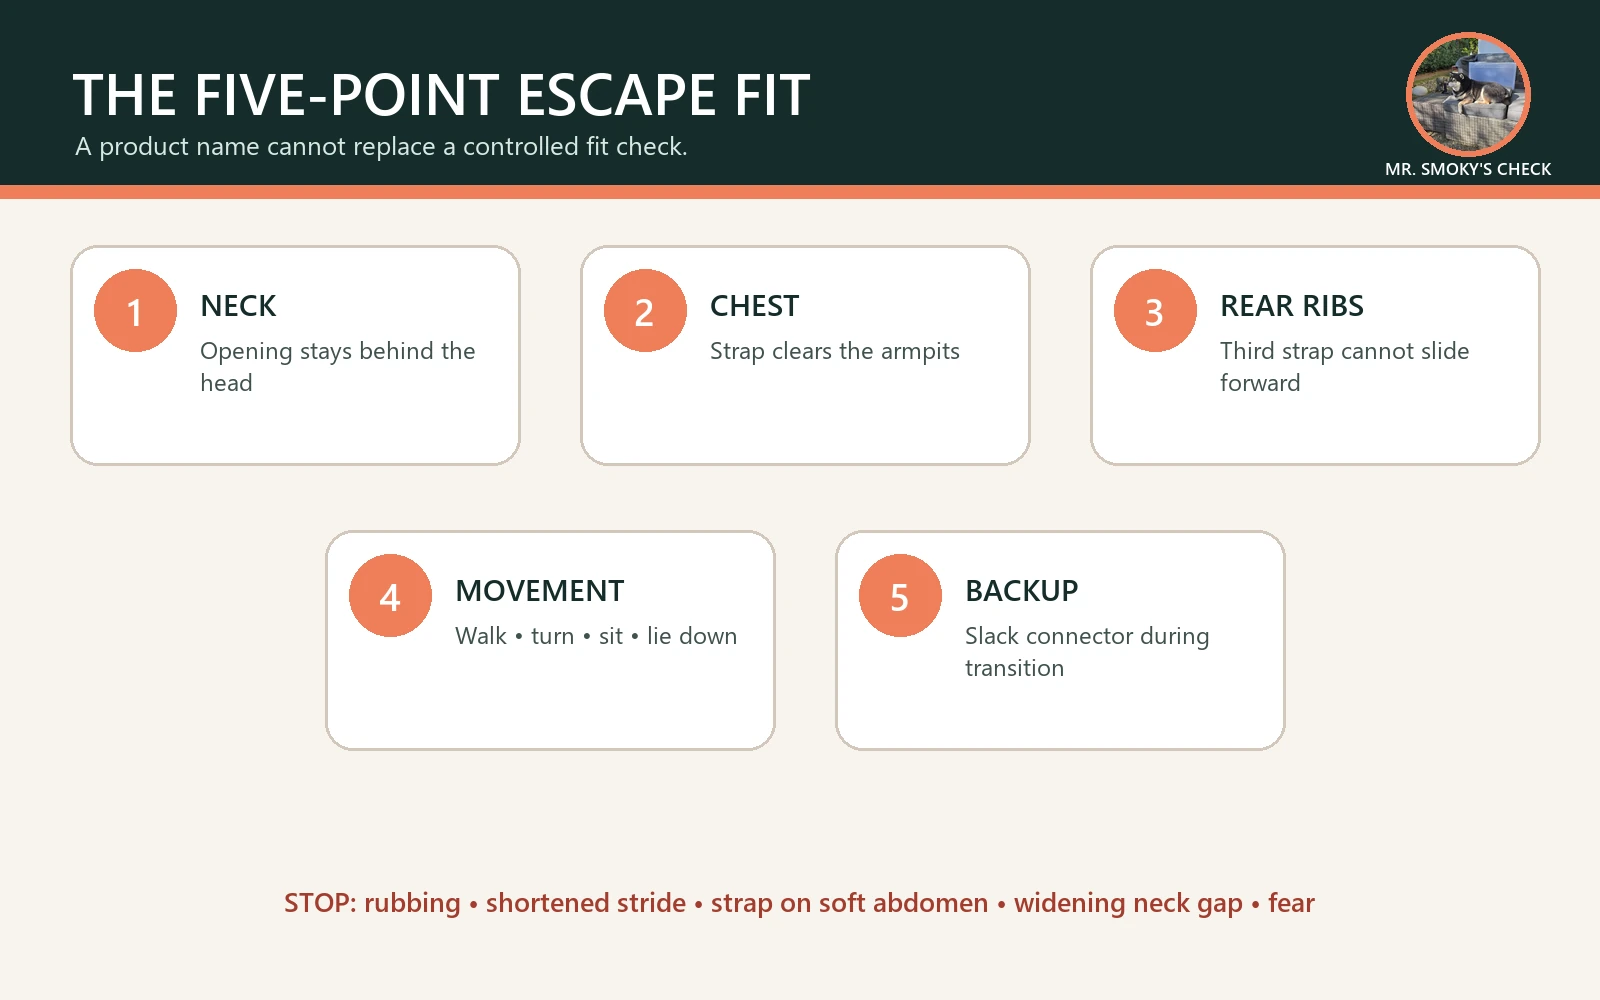
The five-point escape-fit check
Share & embed
- Neck opening
Cannot pass over the head when adjusted
- Look for
No pressure on throat; hardware stays away from jaw
- Avoid
Gap that widens when the dog lowers the head
- Chest strap
Sits behind the front legs without rubbing
- Look for
Allows a natural stride
- Avoid
Slides into the armpits
- Rear strap
Rests around the rear ribs, not soft abdomen
- Look for
Cannot move forward over the widest rib cage
- Avoid
Loose loop or abdominal pressure
- Movement
Dog can walk, turn, sit, and lie down normally
- Look for
No shoulder restriction or twisting
- Avoid
Shortened stride, chafing, rotation
- Backup
Independent low-tension connector during transition
- Look for
Prevents total separation if one fit point fails
- Avoid
Two tight leads that can tangle
Ruffwear's Flagline size chart illustrates why chest measurement matters, and its Web Master design shows the stabilizing role of an additional belly strap. Manufacturer diagrams are a starting point, not proof of fit. Dogs within the same girth range can have very different necks, waists, shoulder angles, and coat thickness.
Which dogs benefit most from a rear strap?
A third strap is especially useful for dogs with a chest that narrows sharply behind the ribs, dogs that flatten their shoulders when frightened, newly adopted dogs whose trigger responses are still unknown, and dogs with a documented history of reversing out of two-strap harnesses.
It can also help on travel days when unfamiliar doors, parking lots, and noises increase flight risk. In those situations, fit the harness before opening the car or building door. The dog gear bag guide explains how to keep a backup leash and connector accessible rather than buried.
A rear strap is not automatically better for every dog. Short-bodied dogs may have too little space between the front legs and abdomen. Deep-chested dogs may need unusually independent adjustment. Dogs with sensitive skin, surgical sites, or mobility problems need individualized veterinary guidance.
Measure five dimensions
Use a soft tape while the dog stands naturally:
- lower-neck circumference where the harness opening will rest;
- deepest chest girth several finger-widths behind the front legs;
- rear-rib girth at the intended third strap;
- back length between the intended neck and rear-strap positions; and
- weight as a secondary check against the brand's limits.
Record the numbers rather than relying on “medium in other brands.” If a dog falls between sizes, compare the usable adjustment ranges for all three circumferences. A chest size that fits does not help if the rear strap cannot tighten enough.
Measure again after grooming, weight change, or coat season. Thick winter fur can hide looseness; a close summer cut can change the effective fit.
Shoulder clearance and strap placement
The dog's shoulder blade moves backward during each stride. A broad rigid panel or strap crossing that movement can shorten the step even when the harness appears secure. Watch from the side at a walk and gentle trot. The front leg should travel forward without the strap pulling into the armpit or the body panel twisting.
The chest strap should not sit directly in the armpit. The rear strap should remain on the rib cage and away from the soft waist. Tightening an incorrectly placed strap does not create safety; it creates pressure and friction.
For general harness anatomy and measurement basics, start with our Dog Harnesses hub. If pulling is the main issue rather than escape, the no-pull harness guide covers training and attachment tradeoffs.
The controlled reverse test
Test only in a closed room or fenced space with a second safety connection.
- Adjust each strap using the manufacturer instructions.
- Let the dog walk for five minutes so the coat and webbing settle.
- Recheck every buckle and strap tail.
- Hold the leash low and steady without jerking.
- Have a helper present a mild, non-frightening reason for the dog to step backward one or two steps.
- Stop immediately if the dog becomes worried, thrashes, coughs, or freezes.
- Inspect whether the neck opening enlarges, the elbows approach an opening, or the rear strap slides forward.
This is a fit observation, not an attempt to make the dog panic. Never “prove” a harness by frightening a dog or pulling hard against the body.
Two current Amazon options
The products below provide useful construction points to compare. We did not perform a hands-on escape test. Verify the current size chart, exact variant, hardware, seller, and return terms.
| Setup | Best for | Strength | Tradeoff | Verify before use |
|---|---|---|---|---|
Five-point standard harness | Dogs with a stable torso shape that need support and a rear body strap | Multiple adjustment points, rear strap, and lift-assist handle | Still depends on exact geometry; rear strap can migrate on some dogs | Walk, turn, sit, lie down, then perform a gentle reverse check in a closed area |
Three-strap escape-resistant harness | Narrow-waisted or fearful dogs that back out of ordinary harnesses | Extra rear-rib strap can remain behind the deepest chest point | More buckles and webbing to fit; may rub if placed too far forward | Confirm each strap has a separate job and stays clear of armpits and soft abdomen |
Recovery or lift-assist harness | Dogs needing brief balance help as well as secure walking control | Broader body support and a handle for manufacturer-approved assistance | Added bulk and warmth; handle is not permission to suspend the dog | Test normal gait, stairs only if appropriate, and the stated handle use with support ready |
Harness plus backup connector | High flight risk during a supervised transition | A slack connector can preserve attachment after one equipment failure | Two restraint points can tangle or tighten if the connector is too long | Check both clips, keep the backup slack, and verify no loop reaches a leg |
Backup connections without creating a trap
During transition, a short safety connector can link the harness to a properly fitted collar so one equipment failure does not mean total separation. It should remain slack during ordinary movement and be short enough not to catch a leg. Inspect both clips and rings before every outing.
Do not run two long leashes that cross around the dog's legs. Do not connect a backup to a loose decorative collar. For high flight risk, discuss a complete handling setup with a qualified reward-based trainer who can see the dog's response and environment.
Daily inspection checklist
- Run a finger along every load-bearing seam.
- Flex plastic buckles and check that both sides lock fully.
- Inspect metal rings for spreading, corrosion, or sharp edges.
- Look for tooth marks, cut webbing, and heat damage.
- Confirm adjustment sliders have not crept.
- Check the dog's armpits, sternum, neck, and rear-rib area for redness or hair loss.
Replace compromised equipment. Sewing over a partly cut load-bearing strap without knowing the original construction is not a reliable repair.
Common buying mistakes
The first is choosing by weight only. The second is tightening the chest strap while leaving a large neck opening. The third is placing the rear strap on the soft abdomen. The fourth is assuming a handle turns any harness into lifting equipment. The fifth is testing for the first time beside a road or open car door.
The safest purchase is often the one with enough adjustment range and a realistic return policy, because escape fit cannot be confirmed from a photo.
FAQ
Can any harness be completely escape-proof?
No responsible fit assessment can guarantee that. Body shape, panic behavior, wear, incorrect adjustment, and hardware failure all matter. A three-strap design plus correct fit can reduce the common reverse-out route.
How tight should an escape-proof harness be?
Follow the manufacturer's fit method. It should stay stable without restricting breathing, swallowing, shoulder movement, sitting, or lying down. The rear strap must remain on ribs rather than compress the abdomen.
Should I attach the leash to the front or back?
Use only designated leash points. The best point depends on the design, activity, and training plan. A front point can change leverage but does not replace loose-leash training.
Is a handle safe for lifting?
Only within the manufacturer's stated use. Many handles are intended for brief assistance, not suspending the dog's full weight.
My dog backs out of the harness when another dog appears. What should I check?
Treat this as both a fit problem and a handling problem. Increase distance from the other dog without deliberately pulling your dog backward against the harness. Do not recreate the incident near a road to test new equipment. Dogs Trust's reactivity guidance explains why space, calm handling, and avoiding forced encounters matter.
Once safely enclosed, check the neck opening, chest and rear straps, buckles, and adjustment sliders using the five-point fit check. Our recommendation is to have a qualified reward-based trainer assess repeated escape attempts and the whole restraint setup before returning to difficult routes. A different harness alone cannot address the trigger.
What if my dog hides or freezes when I bring out the harness?
Do not chase the dog, force their head through the opening, or interpret stillness as acceptance. Dogs Trust's harness-training steps start with voluntary investigation and rewards, then introduce the head opening and buckles gradually. If your dog retreats or becomes worried, stop and return to an easier stage.
A design that opens at the neck may suit a head-shy dog, provided its overall fit is secure. Sudden new sensitivity to handling, signs of pain, or persistent distress warrant a veterinary check. A more secure design still needs a comfortable introduction.
My dog is between sizes: should I size down to prevent escape?
Follow the instructions for the exact model rather than treating a smaller size as automatically safer. For example, Ruffwear's current Web Master sizing guide advises the smaller size between its chest-girth ranges. That is model-specific guidance, not a rule for every harness or body shape.
Our fit recommendation is to compare the neck opening and rear-strap adjustment as well as chest girth. If the smaller harness restricts movement but the larger leaves an opening your dog can slip through, neither is a satisfactory fit. Ask the manufacturer about your measurements or try a different geometry; do not compensate by overtightening or modifying load-bearing straps.
Bottom line
Buy for the dog's geometry: five measurements, three independently useful body straps, free shoulders, and a rear strap that stays on the rib cage. Then verify the result with calm movement and a controlled reverse check in a closed area. Secure equipment supports a good handling plan; it cannot replace one.